On this page
Perspective in photography is the sense of depth and spatial relationship in a flat image — how big near things look against far ones, how fast the ground falls away, whether a background sits behind your subject or a mile past it.
Where you stand decides it. Your lens has almost nothing to do with it, and nothing you do in editing afterward will put it there.
Which seems like a small technical detail until you've stood somewhere with a view that looked wonderful and come home with a photograph that didn't. What follows covers the seven types, three viewpoints worth trying wherever you are, how to build depth on purpose, and the five things that most often flatten a frame.
The seven types of perspective
These overlap constantly. Most photographs that feel three-dimensional are running three or four at once, and the photographer usually was not stacking them consciously.
Linear perspective.
Parallel lines appearing to converge as they recede — a road, a corridor, railway tracks, the line where a wall meets a floor.
Strongest when you stand on the axis the lines are traveling along and get low. A road photographed from the pavement is a road. The same road photographed from the middle of it, crouching, pulls the eye all the way to the horizon. The condition is that the lines have to arrive somewhere — a converging line pointing at an empty corner walks the viewer out of the picture.
Diminishing scale.
Identical objects looking smaller with distance. Street lamps, fence posts, a queue of people, a row of arches.
The eye reads size difference as distance without being told, which is why this works even in a cluttered frame. Look for repeated objects and photograph along the line of them rather than across it.
Overlap.
One object partly hidden behind another. Hills layering back from a viewpoint, tree trunks in a wood, a crowd.
The cheapest depth cue there is, and the most commonly wasted. Two objects standing side by side read as flat. The same two with one partly behind the other read as deep, and moving two feet sideways is usually all it takes to turn one into the other.
Aerial perspective.
Distant things going paler, bluer, and lower in contrast through the air between them and you. Mountain ranges are the obvious case, but fog, rain, smoke and city haze do it at street scale.
This one is given by conditions rather than chosen. When you get it, use it — a scene that is soft at the back and sharp at the front will read as deep with almost no other help. It is also the reason a hazy morning that looks unpromising often produces the strongest frames of a trip.
Height in the frame.
Things placed higher in the frame read as further away, as long as the ground is visible. It is why a figure at the top of a beach shot feels distant, and the same figure at the bottom feels close.
Useful when you have nothing else available. A rock low in the frame and a subject high in it will create depth in a scene that otherwise has none.
Forced perspective.
Deliberately playing with apparent size by putting one thing very close to the lens and another far away. Holding up a distant tower, pinching a building between two fingers.
Mostly a novelty, but the mechanic underneath is one you use all the time seriously — get close enough to something, and it will dominate a frame regardless of how large the thing behind it actually is.
Selective focus. Here the separation comes from what's sharp rather than from where things sit. It works on attention instead of geometry, but the viewer still ends up understanding that the picture has space in it.
Three viewpoints to try at every scene
Almost every photograph is taken from five and a half feet, because that is where eyes are. The three positions below take thirty seconds between them and produce three completely different pictures of the same thing.
Eye level.
What the viewer already knows. It reads as neutral, honest, and slightly flat, and it is the version everyone else has of that place. Worth taking as your safe frame, then leaving behind.
Low.
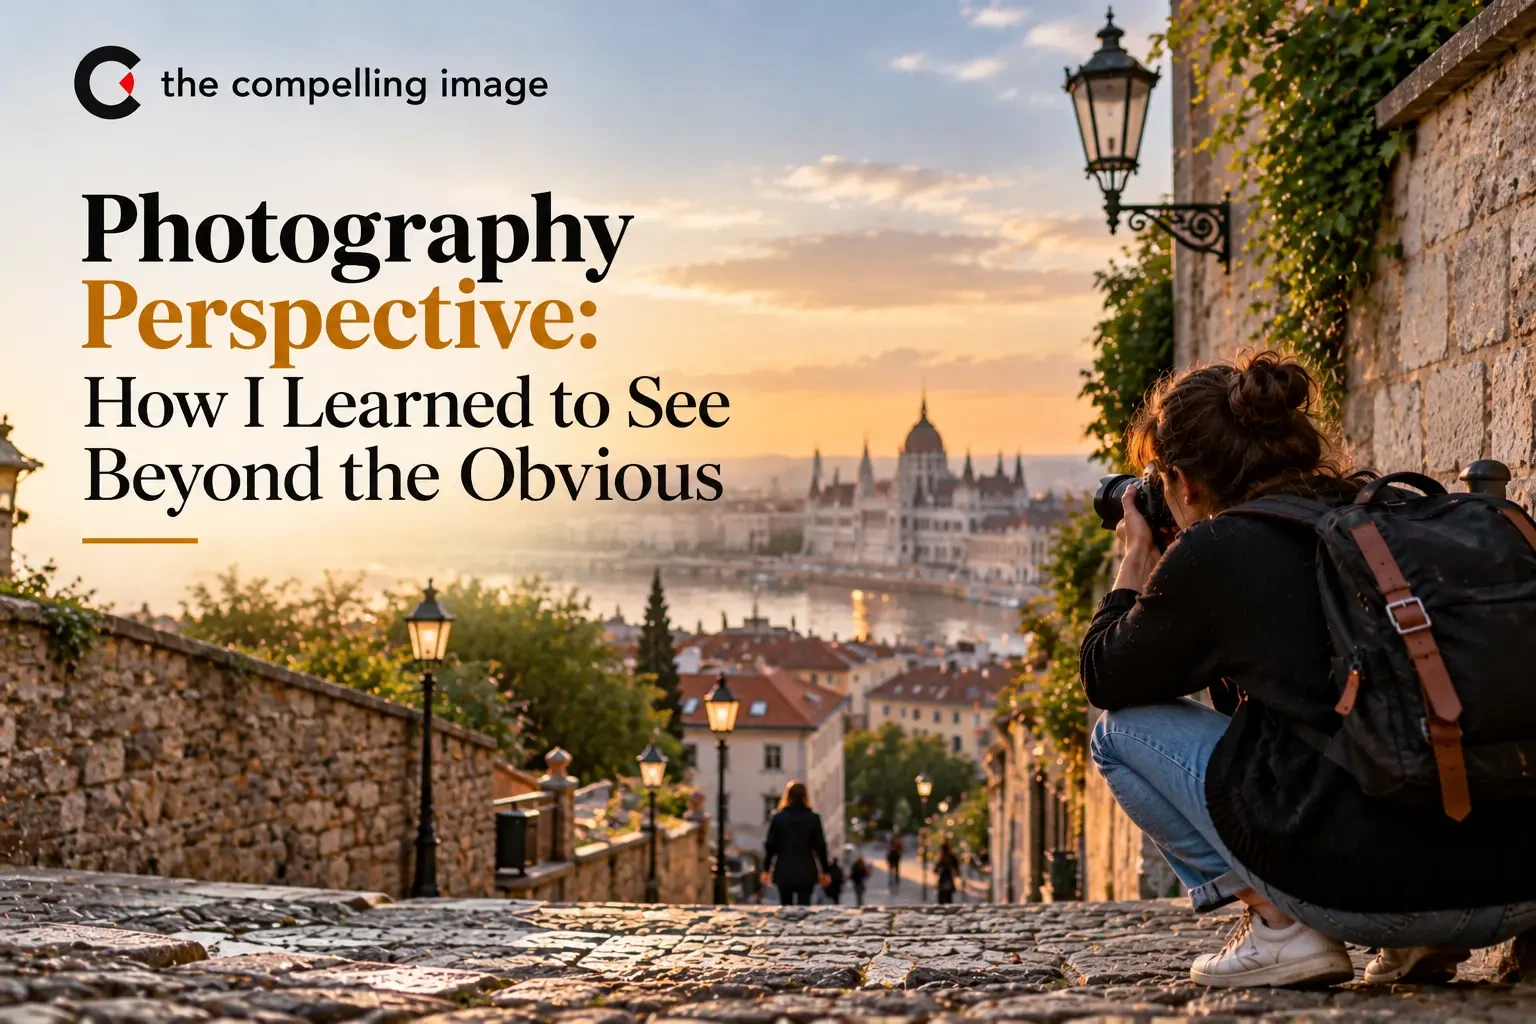
Knee height changes an image. Six inches transforms it. The ground plane stretches away toward the horizon, anything nearby gains weight and presence, and your subject sits against sky or ceiling rather than against background clutter.
This is uncomfortable to do in public, and it is the fastest single improvement available to most photographers. Kneel, sit, lie down, use the flip screen if you have one.
High.
From a wall, a step, a first-floor window, a footbridge. High angles compress the ground plane, which is the opposite effect, and they show pattern and arrangement rather than depth. Markets, crowds, streets, and anything with repeated shapes photograph well from above.
Shoot all three before you decide. It takes under a minute, and the frame you'd have settled for without thinking is hardly ever the one you end up keeping.
Your feet decide perspective, not your lens.
This is the part most articles get wrong, and getting it right changes what you do when a scene refuses to work.
Photograph a subject at 24mm from three feet away. Then photograph it at 70mm from nine feet away, framing the subject at the same size in the frame. The subject will look identical in both. The background will be completely different — small and distant in the wide shot, large and pressed up against your subject's shoulder in the longer one.
The lens did not do that. Your position did.
Here is the proof, and it takes five minutes. Stand in exactly one spot. Shoot the same scene at 24mm and at 70mm without moving your feet. Then crop the wide frame down until the subject matches the telephoto one. The two images will be nearly identical — same perspective, same background relationship, same everything except resolution. Focal length changed, and perspective did not, because you stayed put.
Two things follow from that.
The dramatic depth people associate with wide-angle lenses is not the lens creating it. The lens is permitting you to stand close enough to create it yourself. And the compressed, stacked look of a long lens is not compression by the glass — it is what any lens does when you are standing eighty feet back.
Which is why, when a photograph looks flat, changing lens almost never helps and walking twenty feet almost always does.
How to control depth on purpose
Three habits produce most of the difference between a flat photograph and one with dimension.
Put something within three feet of the lens.
The single most reliable fix available. Without a near element, there is nothing for the distance to be measured against, and the eye reads the whole frame as one plane regardless of how spectacular the view is.
A railing, a flower, a cobblestone, a doorframe, someone's hand. It does not need to be beautiful in itself — a wet paving stone catching light will do more for a photograph of a cathedral than another twenty feet of empty square will.
Most wide lenses focus very close, often to around 28cm, which means you can practically rest the front element on something and still hold it sharp. Spend half your time at any location looking for that near thing. The distant subject is why you stopped; it is the easy part.
Build three layers
Something near, something at the middle distance, something far.
A market stall in front, the vendor behind it, the street beyond. A stone wall, a field, then mountains. Three planes give an image dimension and give the viewer the sense of standing somewhere rather than looking at a flat picture of a place.
Layering also rescues photographs of places you do not understand. You may not know what you are looking at, but if there is a near thing, a middle thing, and a far thing in the frame, you have given someone a route through it.
Move until things overlap.
Related to layering, and easier to execute. Walk slowly sideways while watching the frame, and objects that were separated will begin to pass in front of each other.
Overlap costs nothing, works in any light, and is available in almost every scene. It is the depth cue photographers most often fail to notice they have access to.
Five mistakes that flatten a photograph
Empty foreground.
This accounts for more flat photographs than the other four together. When the closest object is fifty meters out, there's no depth in the file to recover, and editing can't manufacture it.
Shooting from standing height.
The default position produces the default photograph. Everyone who visited that spot this week has the same frame.
Backing up instead of moving in.
The instinct when something will not fit is to retreat. That shrinks the subject and weakens whatever foreground you had. Step forward and recompose instead — the picture that fits is usually not the picture you wanted.
Changing lens instead of position.
A wider lens on a flat scene gives you a wider flat scene. Walk twenty feet closer first, and only then think about focal length.
Filling the frame with everything.
More content is not more depth. If you cannot say in one sentence what the picture is of, it is probably of nothing, and adding elements makes that worse rather than better.
Three exercises
An afternoon covers all three, and they'll teach you more about focal length and position than any amount of reading.
Five positions, one lens.
Find something that stays put — a tree, a postbox, a doorway — and shoot it from five places without touching the zoom ring. Try the front, one side, down low, up high, and right up close. When you put all five on screen together, it becomes obvious how much of a photograph gets settled before the camera even comes up.
Twenty feet closer.
Take a landscape from wherever you naturally stopped walking. Then go twenty feet forward and take it again. Then twenty more. People almost always stop too far back, and it is usually the third frame that works.
An hour below knee height.
Nothing shot standing up. It feels ridiculous, and roughly a third of the frames will beat what you would otherwise have taken, because the ground plane opens up and anything nearby gains weight.
More structured practice along these lines is in our photography projects for beginners.
Three questions before you press the shutter
When a scene is not working, these three usually find the problem faster than anything else.
Is there anything within a few feet of me that could go in the bottom of the frame?
Could I be lower?
Is there a position from which two things overlap that currently do not?
One of those three fixes most flat photographs, and the principles of composition take over from there.
Over time, the checking stops being deliberate. You walk into a place and find yourself crouching before you have consciously decided to, which is roughly what people mean when they talk about developing a photographic voice — the decisions move from the front of your mind to somewhere behind it.
If you'd like to practise seeing this way with someone reviewing your results, Beyond the Click is our 30-day online course, built around assignments and personal feedback.
Frequently asked questions
What is perspective in photography?
The illusion of three-dimensional depth in a two-dimensional image, created by the relationship between near and far objects in the frame. That relationship is determined by where the camera is standing, not by the lens on it.
What are the 7 types of perspective?
Linear, diminishing scale, overlap, aerial, height in the frame, forced perspective, and selective focus. Most photographs use several at once.
What is an example of perspective in photography?
A road narrowing toward the horizon is linear perspective. Hills fading to pale blue behind each other is aerial perspective and overlap working together. A hand held close to the lens, making a distant building look small, is forced perspective.
What three viewpoints should a photographer consider?
Eye level, low angle and high angle. Eye level gives the viewer what they expect. Going low pushes the foreground forward and opens up the ground. Going high does the reverse, flattening the ground but showing you the pattern in how things are arranged.
Does focal length change perspective?
No. Focal length changes how much of the scene fits in the frame. Perspective changes only when the camera moves. Wide lenses appear to create dramatic depth because they let you stand very close, and the closeness is what does it.
Why do my photos look flat?
Almost always because there is nothing in the foreground, find something within a few feet of the lens and put it in the bottom of the frame.
How do I show scale in a photograph?
Put something of known size in the frame — a person, a car, a door. The viewer measures everything else against it. A mountain photographed alone is a shape. A mountain with a walker at the bottom of the frame has a size.