
On this page
Go out at night with a camera for the first time, and something stops working that worked fine that afternoon. The settings that gave you a clean frame on the street now give you blur, or grain, or a flat grey rectangle where the scene should be. It's not the camera. It's that a street scene at 11 pm, a star field two hours from the city, and a floodlit building at dusk are three different problems — and each one needs different reasoning before it needs different settings.
Why night photography fails
A street scene at night, a star trail, and an illuminated building require completely different approaches. ISO 3200 is appropriate for a dark alley; at that same setting, stars blur into trails, and a lit architecture shot overexposes before you reach an interesting composition. The subject determines the settings — not the time of day.
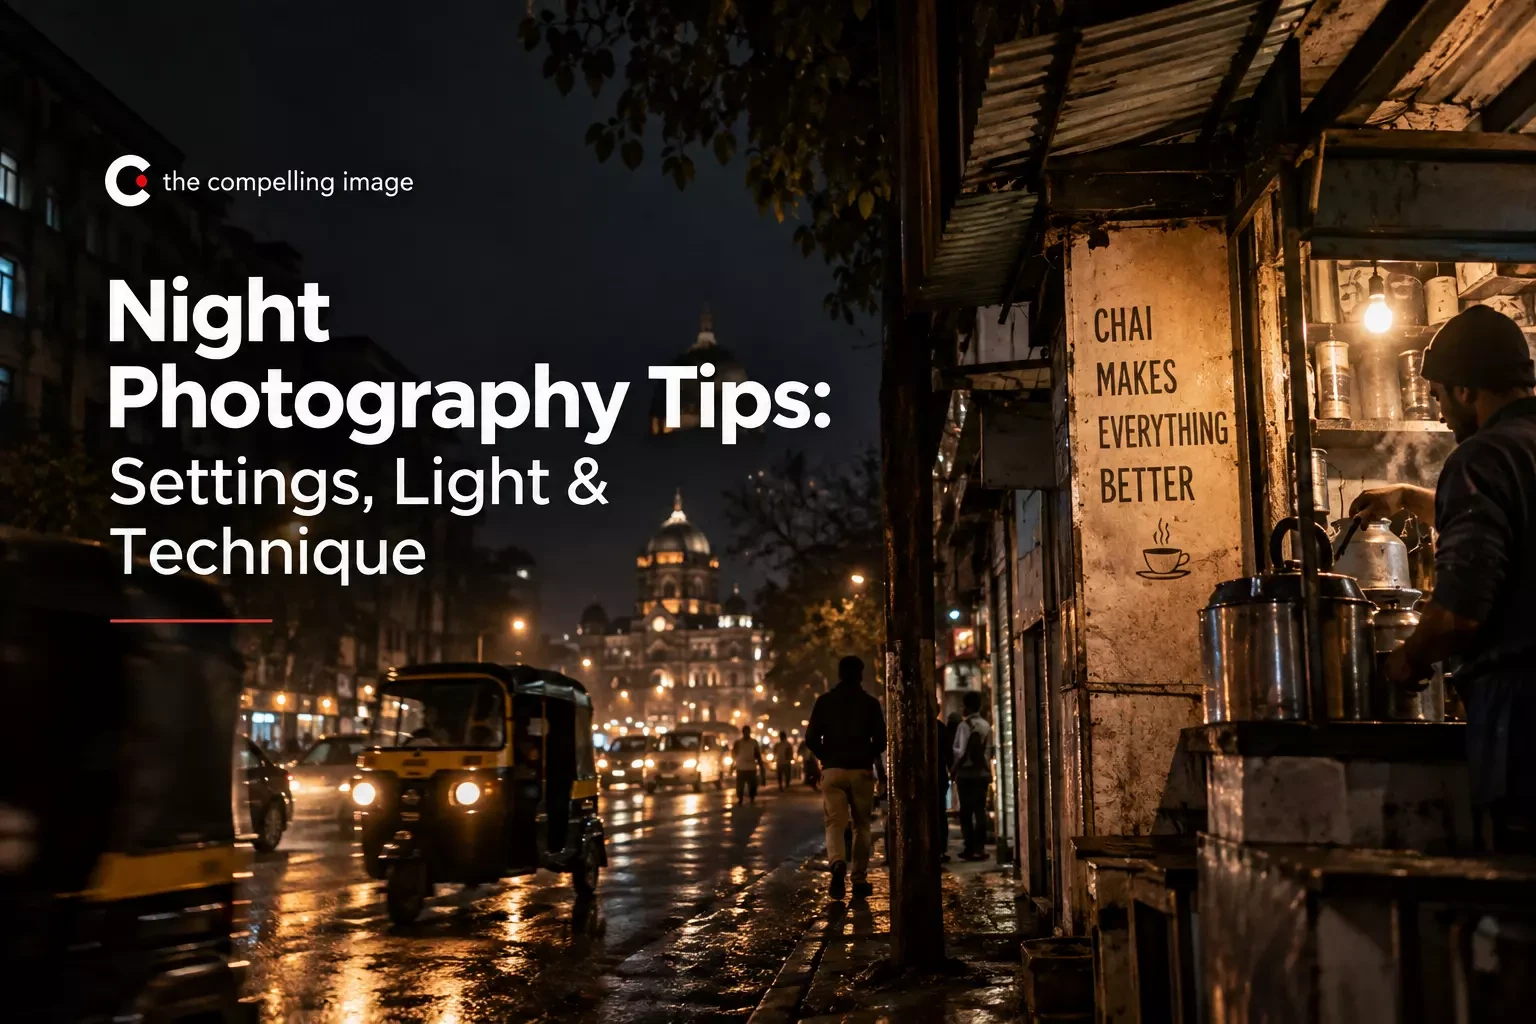
City streets after midnight are not as dark as they look to the eye. Traffic lights, shop fronts, streetlamps, illuminated signs — the meter doesn't average these well against the dark sky behind them. It exposes for the dark and blows the rest. Expose for the lit areas and let the dark stay dark.
Street and urban night photography
Fan Ho spent the 1950s and 1960s on Hong Kong's streets at night and in the early hours before dawn — Rolleiflex twin-lens reflex, 50mm lens, no flash. Whatever the city gave him, he worked with. Over 280 awards in international salons across that period. He once said photography is about waiting for the right light, and his night work shows what that means: a narrow alley at 2 am with one lamp throwing shadow across wet pavement is a different subject entirely from the same alley at noon — not a harder version of it.
For handheld street work, ISO 1600 is where most modern cameras become usable at night — clean enough to print at normal sizes. ISO 3200 introduces grain, but in a dark urban environment that texture often reads as atmosphere rather than failure. Blur from movement is a failed photograph. Grain at high ISO is a choice.
Aperture as wide as the lens allows. f/1.8 or f/2 means more light and a faster shutter speed — essential when working without a tripod. At f/1.8 on a 50mm lens focused at a meter, depth of field is thin enough that eyes may be sharp and the nose already soft. Autofocus in low light needs contrast to grip — point the AF point at the boundary between a lit area and a dark one, not at a uniformly dark surface.
Blur from a moving subject looks different from camera shake — the background is sharp, and the person isn't, which reads as a technical failure. How these three numbers trade against each other in low light is what the exposure triangle actually means in practice.
Light trail photography
Light trails — the streaks left by vehicle headlights and taillights during a long exposure — need a tripod, a stable position with a view of moving traffic, and a dark enough sky that the trails register cleanly.
Duration changes what you get, but not in a predictable way. Four seconds on a quiet road: one clean line from a single car. Thirty seconds on a busy intersection stacks trails from several vehicles — whether that reads as graphic or chaotic depends on where you're standing and what the road does, not on the shutter speed itself.
Keep ISO at base — 100 or 200. Aperture around f/8. Start at 8 seconds and adjust from there. Remote release or 2-second self-timer — pressing the button by hand introduces vibration at the wrong moment.
The foreground matters as much as the trails themselves. Light streaks against a plain dark background are less interesting than trails moving through a scene with structure — over a bridge, through an underpass, around a bend that reveals the geometry of the road. Position matters more than settings here. Where you stand matters more than what settings you use.
The blue hour — 20 to 40 minutes after sunset — is the best time for light trail photography. The sky still holds enough color that it reads as deep blue rather than black, and the artificial lights have come on. The result is a balanced exposure where trails sit in a coloured sky rather than complete darkness.
Star photography
Stars require almost the opposite of most night photography thinking. You need high ISO, wide aperture, and a short exposure — not because you want to capture movement, but because you want to prevent it.
The problem with stars is that they move. Leave the shutter open long enough and the Earth's rotation pulls them into short arcs rather than points. At 24mm, trailing starts showing around 20 seconds. At 50mm, closer to 10. Crop sensors trail sooner — apply the crop factor to the focal length before dividing into 500; otherwise you'll overshoot the limit.
ISO 3200 or 6400 is necessary. Long exposure noise reduction — on most cameras — takes a matching dark frame after your shot and subtracts the heat noise. Doubles the time per shot but cleans the result. Aperture as wide as possible, f/1.8 or f/2.8.
Equipment matters less here than location. A city sky records as orange-grey within seconds of exposure regardless of camera. Thirty to forty minutes of driving into genuinely dark countryside produces a different subject entirely. Dark sky maps show pollution levels by location — worth checking before making the trip.
The foreground is what separates star photographs from generic sky photographs. A dark sky full of stars with no anchor — no horizon, no subject, no silhouette — is just data. A barn, a lone tree, a ridge of hills, a person standing at the edge of a field — something to stand against the sky gives the image a reason to exist. Composition doesn't stop mattering in darkness.
Architecture and lit buildings at night
Lit buildings are technically easier than most night subjects — the light source is fixed, bright, and not changing. The difficulty is contrast: the gap between the illuminated surfaces and the dark sky behind them is often too wide for a single exposure to handle cleanly.
ISO 100–400 — the building provides enough light. Aperture f/8–f/11 for sharpness across the structure. For shutter speed, bracket: the same composition at 1 second, 4 seconds, 10 seconds. A high-contrast scene between a lit building and a dark sky rarely has one correct exposure — different durations handle different parts of the frame.
Blue hour helps here for the same reason it helps with trails. There's still enough daylight left that the sky holds color rather than going black, which closes the contrast gap between the building and everything behind it. After full dark, the building sits in nothing — which can be the photograph you want, just a different one.
Wet streets after rain reflect whatever is lit above them. A building, a streetlamp, a neon sign — the reflection doubles the subject and gives the foreground something to say. Worth going out after rain rather than waiting for dry conditions.
Practical preparation for night shooting
Arrive before dark. Scouting a location in daylight lets you see the scene clearly — where the light sources are, what the shadows will do, where to position yourself. Trying to find a composition in darkness that you haven't already seen in daylight wastes time and often produces worse results.
Charge the battery fully. Cold temperatures and long exposures both drain batteries faster than normal shooting. Carry a spare.
Manual focus in the dark. Autofocus fails more often at night than it does in daylight. For static subjects — architecture, star photography, landscapes — set focus in the best available light, switch to manual to lock it, and don't touch it again. For street work, pre-focus at your anticipated shooting distance and work within that range.
RAW format. Night images consistently require post-processing adjustment — exposure recovery, noise reduction, white balance correction from mixed light sources. JPEG limits how much room you have to work with. RAW preserves the full data the sensor captured.
What night teaches you about seeing
Working after dark forces a specific kind of attention. There's less to look at, and what's visible is determined by light sources rather than the general illumination of the scene. You stop reading the whole environment and start reading it pool by pool — what's in this circle of light, what's in the next one, what connects them, what the dark between them does to the image.
Fan Ho worked this way — not compensating for darkness but actively using it as a compositional element. Deep shadows cut shapes that don't exist in flat daylight. A figure at the edge of a pool of light reads differently from the same figure in the center of it. The line between lit and unlit is as much a compositional edge as any physical boundary in the frame.
Photographers who work consistently at night tend to read indoor and low-light situations differently — not because they studied it, but because they spent enough time in the dark that source-by-source reading became habit.
Working through sustained photographic assignments in one location over multiple nights accelerates this — you learn how a specific environment changes as the light shifts, which positions produce the strongest images, and what to wait for. Night photography rewards patience more than most genres.
If you want to develop that understanding through structured assignments with individual critique, Beyond the Click covers exposure, light management, and camera control in depth — including the decisions that become most critical when ambient light disappears.
Questions that come up
What ISO for night photography?
Street and handheld work: 800–3200. Light trails: base ISO, usually 100. Stars: 1600–6400. The subject sets the ISO, not the hour.
Do I need a tripod for night photography?
For light trails, star photography, and architecture: yes. For street and urban work with fast lenses at high ISO: not necessarily. A monopod helps in situations between those two.
What is the 500 Rule?
Divide 500 by your focal length in millimeters to get the maximum shutter speed before stars begin to trail. At 24mm: 20 seconds. At 50mm: 10 seconds.
Why does my autofocus fail at night?
Autofocus systems read contrast. In darkness, contrast between surfaces reduces significantly, and the camera can't find an edge to lock on. Point the AF at the boundary between a lit and dark area, or switch to manual focus.
When is blue hour?
The 20–40 minutes after sunset — sky still deep blue, street lights already on. Natural and artificial light are roughly balanced, which gives urban and architectural photographs a background with color rather than black. After full dark, that balance is gone.