On this page
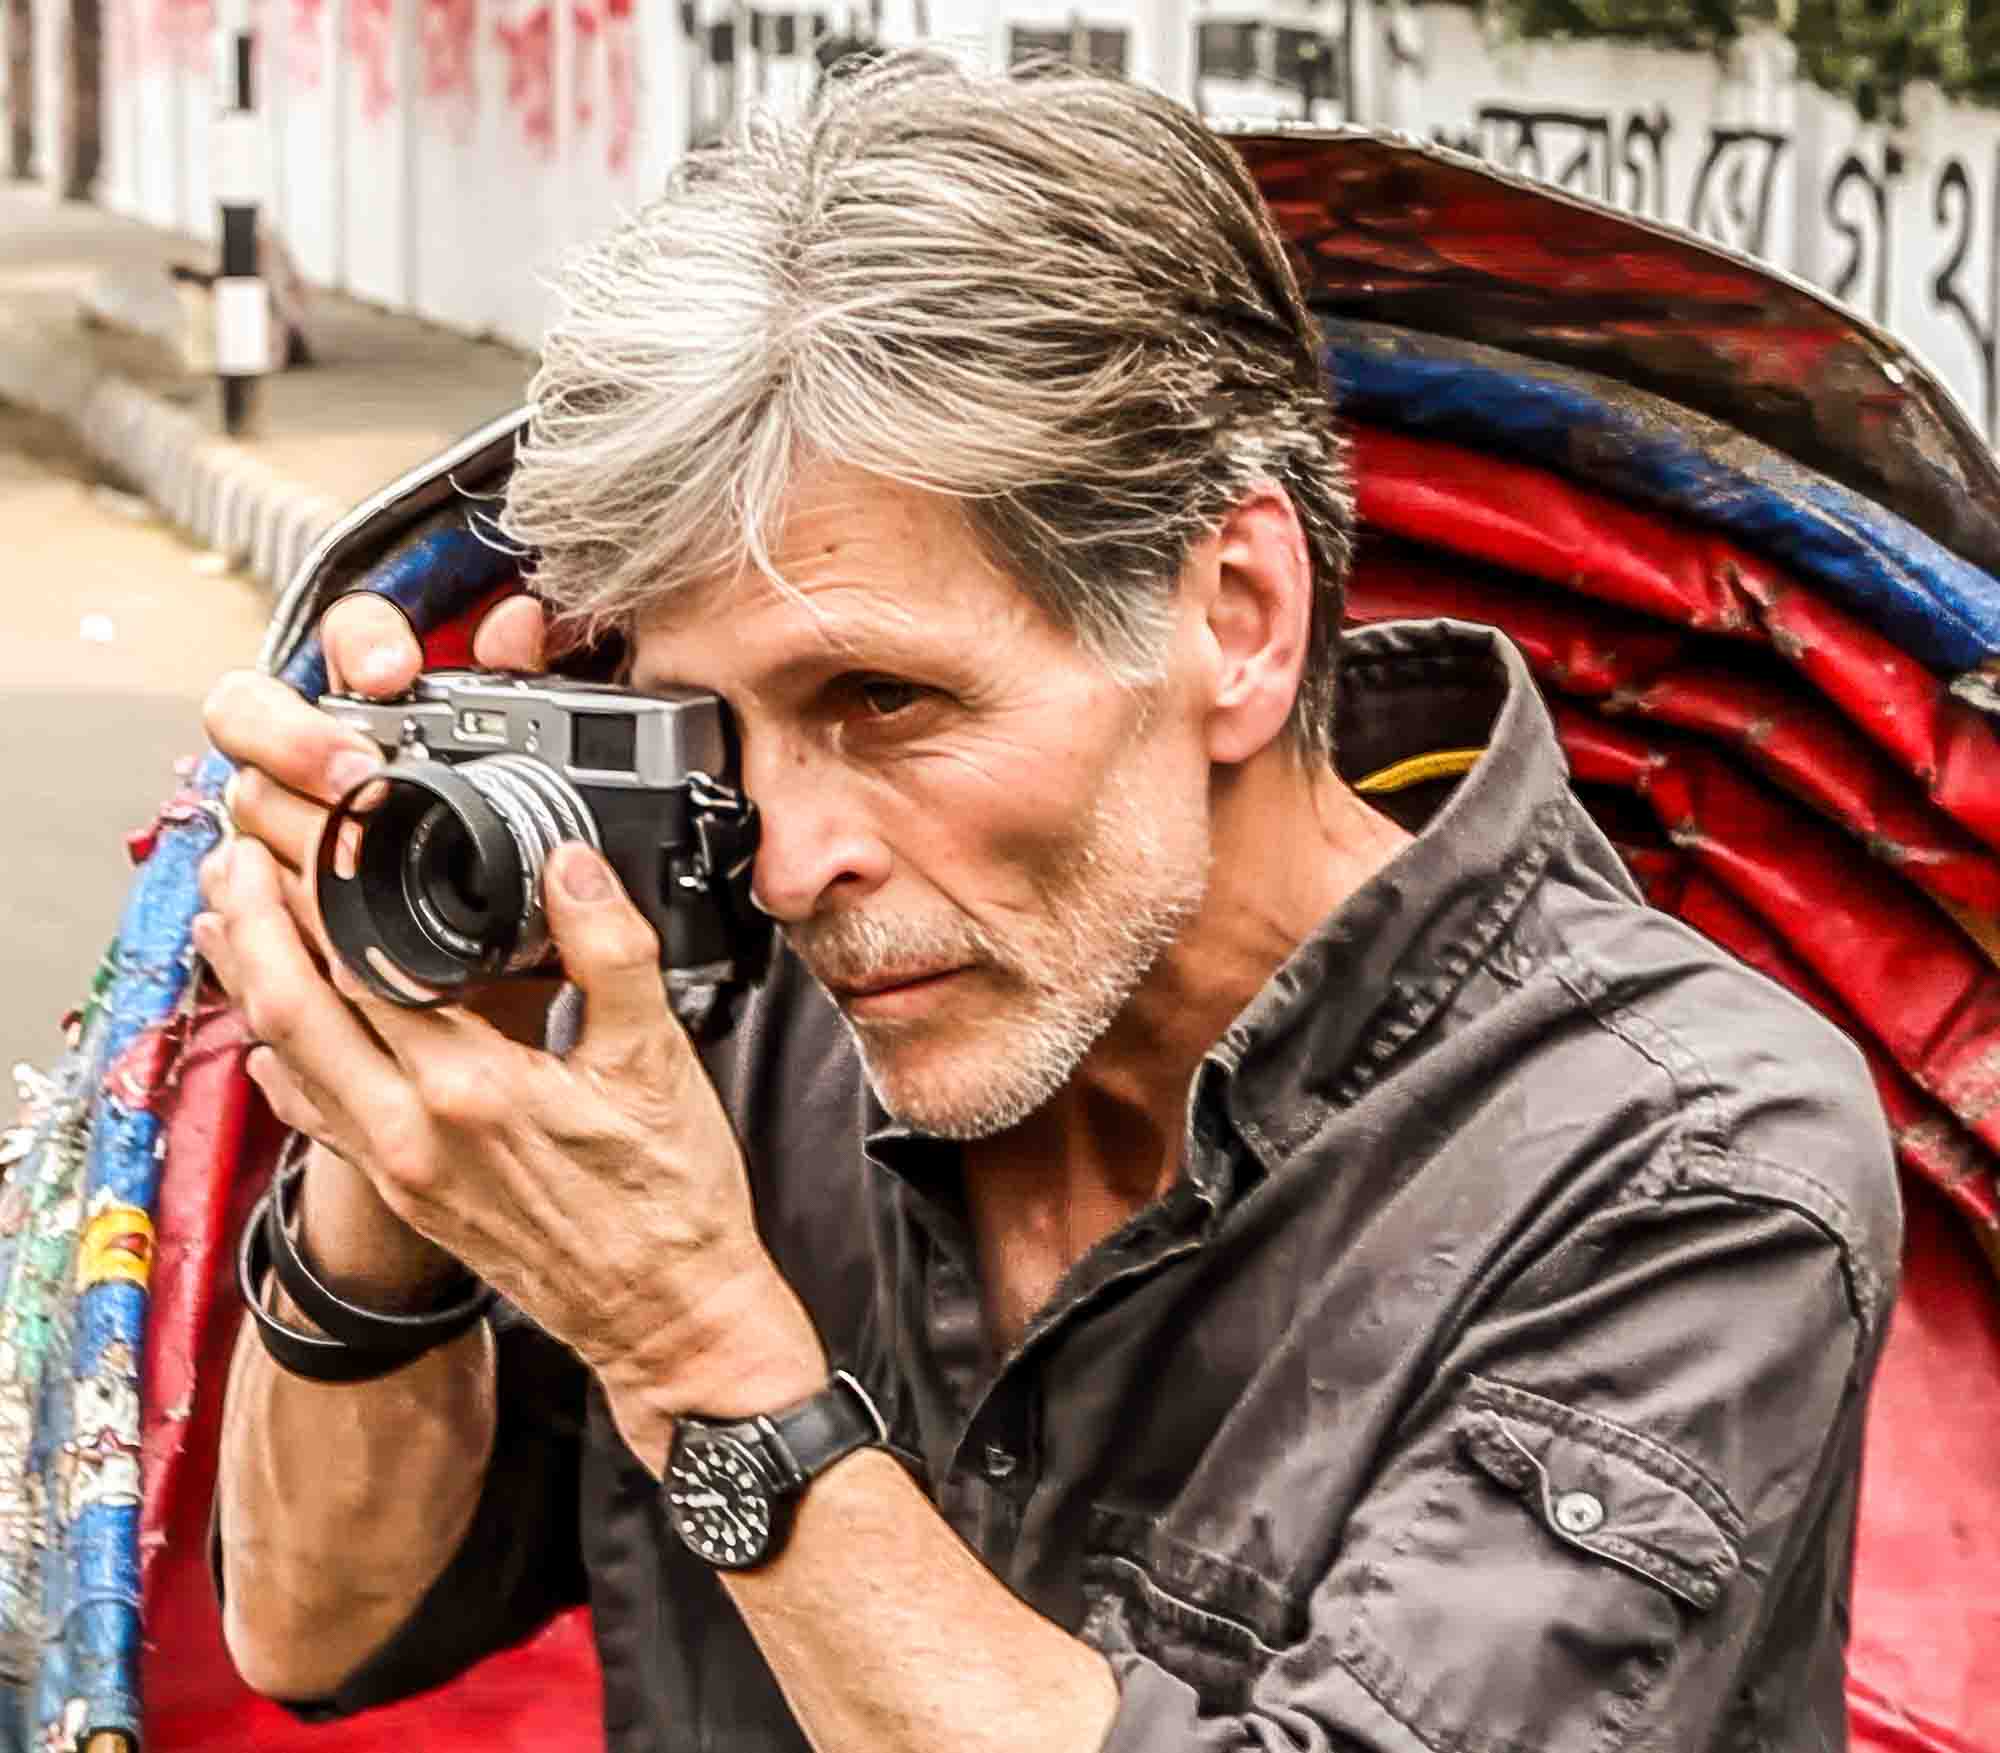
By David Bathgate, Founder of The Compelling Image
You bought a professional-grade camera because you wanted to take professional-grade photographs. You wanted those creamy, blurred backgrounds in your portraits, the crisp frozen motion of a bird in flight, and the silky-smooth water of a mountain stream.
But then, reality set in.
You switched the dial to “M” for Manual, took a shot, and the screen was either pure white or pitch black. Panicked, you switched back to the "Green Box" (Auto Mode). You told yourself you’d learn it later.
Later is today.
I often remind my students: “Auto mode makes a guess; Manual mode makes a choice.” When you shoot in Auto, the camera—a machine—is deciding what your story should look like. When you shoot in Manual, you are the storyteller. I’ve spent decades as a photojournalist and educator, and I can tell you that the moment you take control of these settings is the moment your photography truly begins.
This guide is my personal 30-day roadmap to help you move from "taking snapshots" to "creating art" by mastering the three pillars of manual photography.
1. My Philosophy of Intention: Why Manual Mode Matters
Before we talk about f-stops and shutter speeds, we have to talk about why I want you to do this.
Most beginners I meet believe Manual Mode is about getting the "correct" exposure. In my classes, I teach that there is no such thing as a "correct" exposure—only the intended exposure.
A camera’s Auto mode is programmed to make everything look "middle gray." It wants to average out the world so nothing is too dark and nothing is too bright. But what if you want a silhouette? What if you want a moody, dark portrait? Auto mode will fight you. Manual mode will obey you.
My Goal for You: By the end of this roadmap, I don't want you just spinning dials; I want you making intentional decisions that reflect your unique visual voice.
2. The Pillar of Story: Aperture (f-stop)
If you want to know how to shoot in manual mode, I always tell my students to start with Aperture.
Aperture is the opening in your lens that lets light in. It is measured in "f-stops" (like f/2.8 or f/11). Think of it as the pupil of an eye. In the dark, it opens wide; in the light, it shrinks.
But for me, Aperture is about more than light—it’s about Depth of Field. This is how I control what the viewer looks at.
- Wide Aperture (Low f-number like f/1.8 or f/2.8): This creates a shallow depth of field. This is how I get that beautiful "bokeh" (blurred background) that makes a portrait subject pop. It tells the viewer: "Look exactly here, and nowhere else."
- Narrow Aperture (High f-number like f/11 or f/16): This creates a deep depth of field. This is my "Landscape Setting." It ensures that the flower in the foreground and the mountain in the background are both tack-sharp.
My Pro Tip: Every lens has a "sweet spot"—usually two stops up from its widest setting—where it is sharpest. If you have an f/2.8 lens, try shooting at f/5.6 for maximum clarity. I use this trick constantly in my own work.
3. The Pillar of Time: Shutter Speed
While Aperture controls the space of your photo, Shutter Speed controls the time.
Shutter speed is the length of time I allow the camera's sensor to be exposed to light. It’s measured in fractions of a second (1/1000) or whole seconds (2”).
- Fast Shutter Speed (1/500 and above): This freezes time. I use this for sports, wildlife, or children running in the backyard. If you want to see the individual droplets of a splashing wave, you need speed.
- Slow Shutter Speed (1/60 and below): This blurs motion. This is how I create those "milky" waterfalls or light trails from cars at night.
The Handheld Rule I Teach: Never shoot handheld at a shutter speed slower than your focal length. If you are using a 50mm lens, don't go below 1/50th of a second, or your "handshake" will blur the photo. I’ve seen many great shots ruined by ignoring this simple rule.
4. The Pillar of Sensitivity: ISO
ISO is the third side of the exposure triangle. It measures the sensor’s sensitivity to light.
- Low ISO (100–400): Use this in bright daylight. It produces the cleanest, highest-quality images with no "noise" (grain).
- High ISO (1600–6400): Use this in dark environments, like a church or a dimly lit restaurant.
The Trade-off: As you raise your ISO, you introduce "digital noise." Your photo will look grainy and lose detail. My golden rule for my students is to keep your ISO as low as possible for as long as possible. Don't use ISO to make a photo "brighter" if you can use Aperture or Shutter Speed instead.
5. The Light Meter: Your Only Technical Guide
When you switch to Manual Mode, a small scale appears at the bottom of your viewfinder. This is your Light Meter.
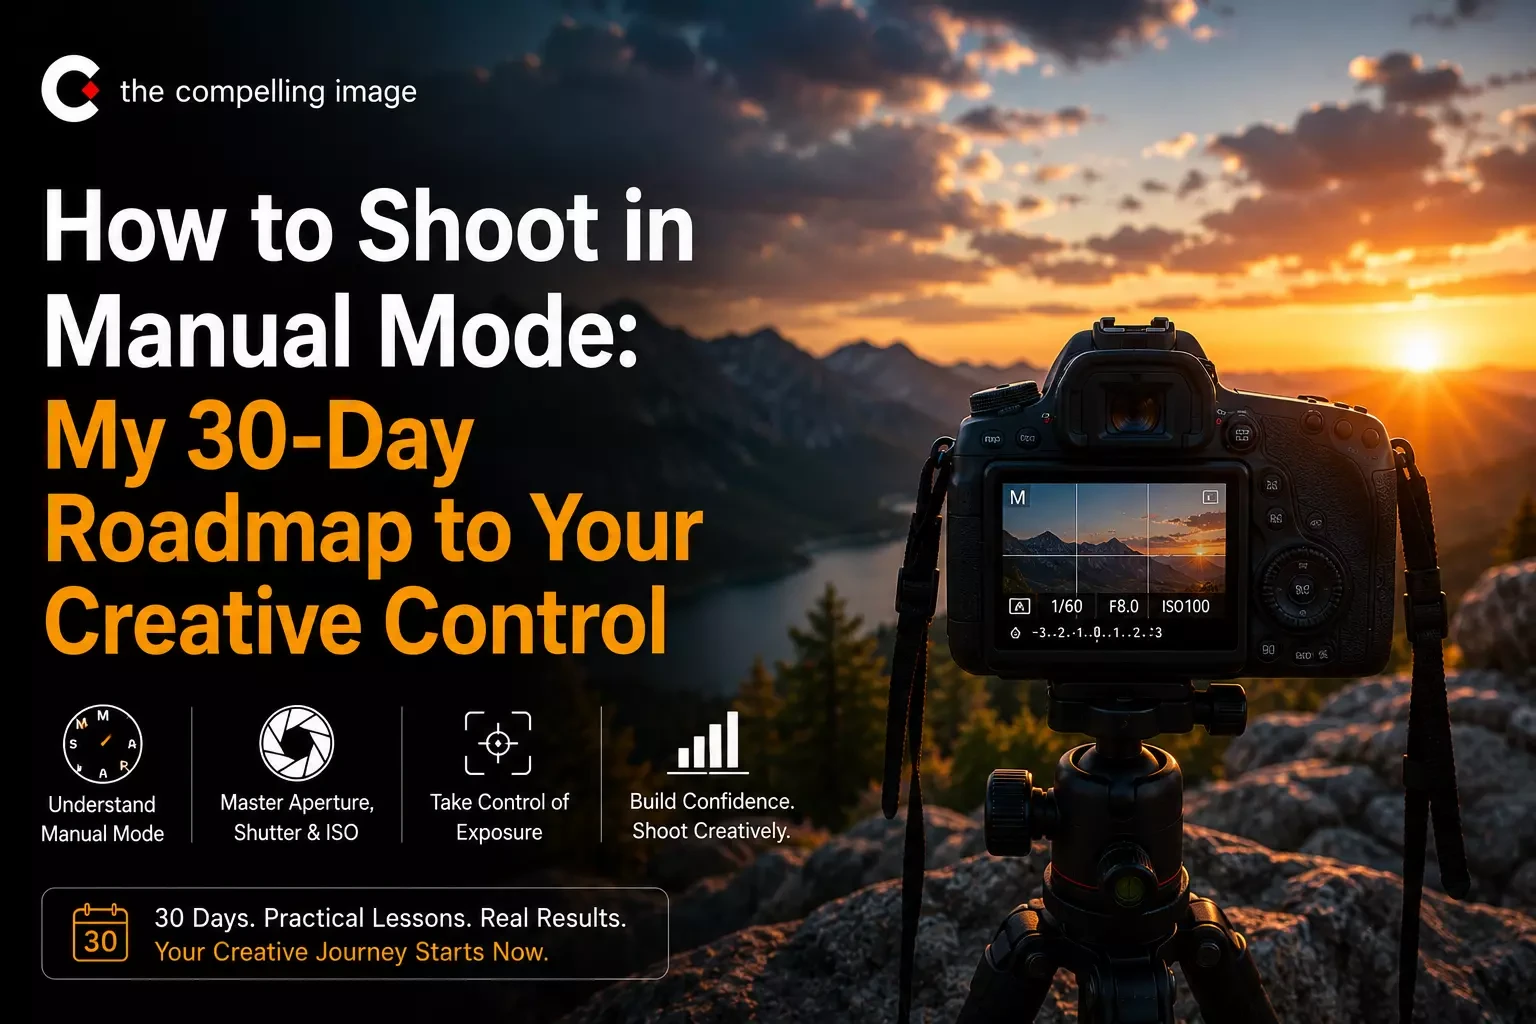
It usually looks like this: -2 . . 1 . . 0 . . 1 . . +2
- If the needle is on the minus (-) side, your photo will be underexposed (too dark).
- If the needle is on the plus (+) side, your photo will be overexposed (too bright).
- If the needle is at 0, the camera thinks the exposure is "perfect."
The Secret I Share with My Classes: The camera is often wrong. If you are shooting a person in the snow, the camera will see all that white and try to turn it gray (underexposing). I will often move my needle to the +1 side to make the snow look white. This is the beginning of your true creative control.
6. My 3-Step Roadmap for Every Shot
Don't get overwhelmed. When I arrive at a scene, I follow this 3-step workflow to set my manual camera settings, and I suggest you do the same:
Step 1: Set your Aperture (The Story)
Ask yourself: Do I want a blurry background or a sharp one?
- Blurry? Set it to f/2.8.
- Sharp? Set it to f/8 or f/11.
Step 2: Set your Shutter Speed (The Motion)
Ask yourself: Is my subject moving?
- Moving fast? Set it to 1/1000.
- Still life? Set it to 1/125.
- Now, look at your light meter. Adjust the shutter speed until the needle hits 0.
Step 3: Balance with ISO (The Light)
Check your shutter speed. Is it too slow (e.g., 1/15) because you're in a dark room? If you can't use a tripod, you must raise your ISO until your shutter speed is fast enough to hold by hand (e.g., 1/60).
7. Manual Camera Settings Cheat Sheet
To help you learn manual mode photography online, I’ve put together this "cheat sheet." I recommend keeping it in your camera bag or saving it to your phone.
|
Scenario |
Aperture |
Shutter Speed |
ISO |
|
Bright Landscape |
f/11 |
1/250 |
100 |
|
Outdoor Portrait |
f/2.8 |
1/500 |
100 |
|
Indoor Party |
f/4.0 |
1/60 |
1600 |
|
Running Child |
f/5.6 |
1/1000 |
400 |
|
Starry Night |
f/2.8 |
20 seconds |
3200 |
8. Common Mistakes I See Beginners Make
In my decades of teaching at The Compelling Image, I have seen the same three mistakes derail almost every new photographer:
- Chasing the "Zero": Students often think the light meter must be at zero. It doesn't. If I want a moody, dark forest, I let the meter sit at - Trust your eyes, not just the machine.
- Ignoring the Histogram: I always tell my students to check their "Histogram" (the little graph on your screen). If the graph is all the way to the left, you're losing detail in the shadows.
- The "Set and Forget" ISO: I’ve seen students set their ISO to 1600 for a dark room, then go outside into the sun and wonder why their photos are pure white. Always check your ISO first. It’s the most common "forgotten" setting.
9. Why a Blog Post Isn't Enough: The Need for My Feedback
You can read every "how to shoot in manual mode" blog on the internet. You can watch 100 hours of YouTube tutorials. But there is a massive gap between knowing and doing.
The biggest hurdle in learning photography is the feedback loop.
When you take a photo that doesn't look right, you need to know why. Was it a focus issue? A shutter speed issue? Or was it a compositional choice that failed? YouTube can't look at your photo. A blog post can't give you a critique.
To truly master Manual Mode, you need a mentor—someone like me—to guide you through the process of "seeing" before you "click."
10. Your Path to Mastery: Join Me in "Beyond the Click"
If you are ready to stop guessing and start creating, I built my flagship course, Beyond the Click, specifically for you.
This isn't a collection of pre-recorded videos that you'll never watch. It is a structured, 4-week interactive journey where I personally lead you.
- Weekly Assignments: I give you specific "missions" to master manual mode.
- Personalized Feedback: I personally review every photo you submit, providing detailed critiques that you won't find anywhere else.
- My Proven Roadmap: I will take you from the "Auto Trap" to full creative control in just 30 days.
Stop taking lucky shots. Start making intentional art with me.
Enroll in Beyond the Click Today – I'll See You in Class
My Final Thought: Manual mode is like learning to drive a stick shift. It’s clunky at first. You’ll stall. You’ll get frustrated. But once it becomes muscle memory, you’ll never want to go back to "Auto" again. The world looks different when you’re the one in control. I can't wait to see what you create.