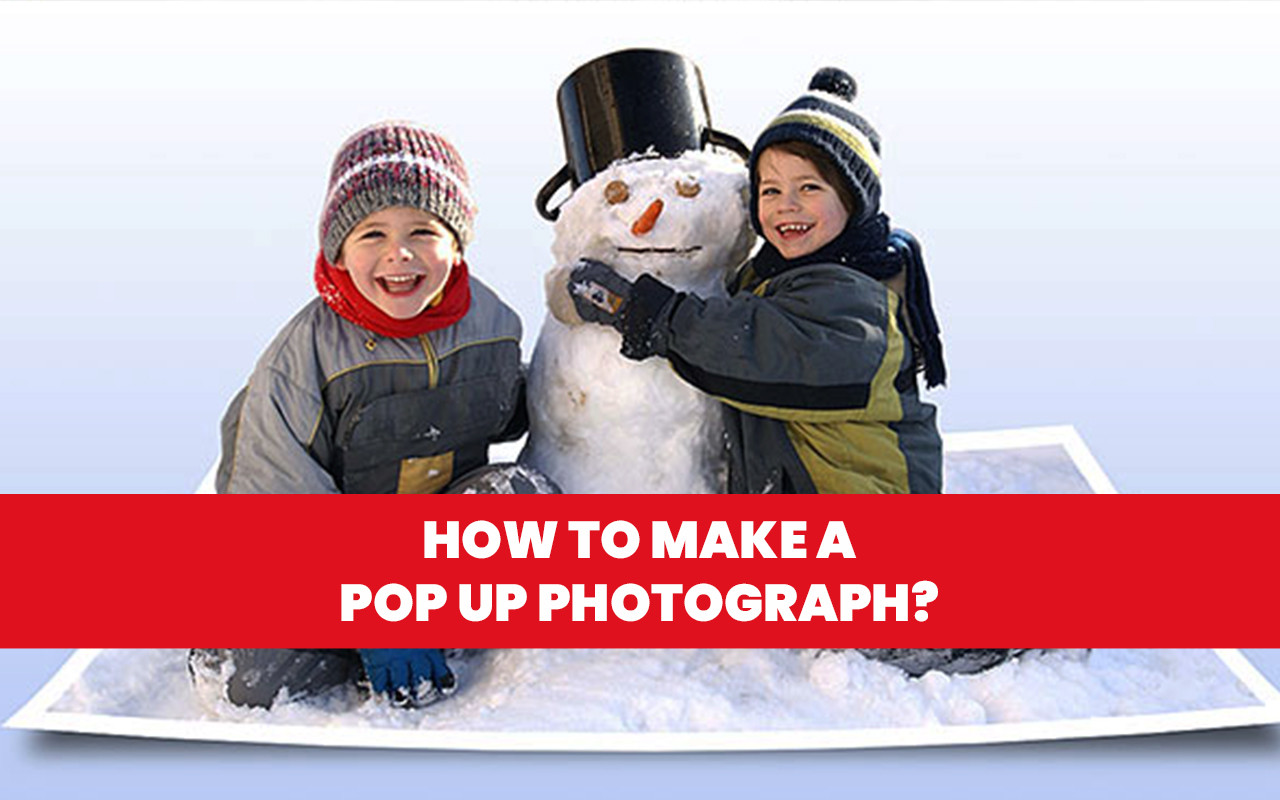
Unlock the true potential of your favorite photos with Photoshop editing tools! Transforming them into powerful, unforgettable images has never been easier. Use pop-up, or 3D, photography to draw attention and make an image come alive. This technique will allow you to emphasize a certain part of the photograph and bring it out of traditional photographs' flatness. Bring your photos to life online, or present them as a gift. Harness the power of these amazing tools, and you'll be an expert in no time!
These easy secrets transform your everyday photographs into a dazzling pop-up masterpiece. Let's take an in-depth look and get started!
Before editing in Photoshop, select the original image and press Ctrl+J (Windows) or Command+J (Mac). This will produce a duplicate of the initial picture. With your side panel open, click "Layers" to view the miniatures of each photo created. Now you can start perfecting!
To add a new layer, click on the top image in the layers palette first. Next, press and hold either "Ctrl" (Windows) or "Command" (Mac), and then select the "new layer" icon located at the bottom right of your layers box. As soon as you do this, space should generate between your original two pictures!
Creating a blank layer allows you to distinguish between images more easily and avoid confusion while editing. This helps to ensure your work's accuracy and prevent time-consuming mistakes.
Read also this article: https://thecompellingimage.com/blog/how-to-capture-low-light-photos-9-easy-tips
To start with a clean canvas, click the new layer in your palette and press Ctrl+Backspace (Windows) or Command+Delete (Mac). A white background will appear on this blank slate.
Your primary image should remain at the top of your layer palette for smoother access. To view the modifications in background color, peep through your palette box!
To begin, select the first image in the layers palette so that it's the one you're modifying. Afterward, employ a pen or lasso tool to 'cut out' your chosen picture from its background. Make sure to trace along each side of your object as if cutting it carefully from a magazine!
For instance, if you have a snapshot of your pup snagging a frisbee out of the air, select your dog and the disc to stand out from their environment.
Press Ctrl+J (Windows) or Command + J (Mac) to replicate the highlighted or outlined image. When you do this, a copy of your original image will appear in the layers palette. This new layer only contains the cropped-out portion of your initial picture!
By now, you should have four images visible on the layers palette: a background image layer, a white one, the original photo, and finally, another with the cropped-out image.
Select your "Layer 1" image on the layers palette. Use the marquee tool to choose which section of your original photo to preserve. It's recommended that you eliminate any excess content around the edges to produce a breathtaking 3D photo.
By doing this, you can create a visually striking and "popping out" image. The smaller the cropped photo is, the more incredible your popping-out effect will be!
To create the classic polaroid look, click the "Layer Styles" button in the bottom-left of your layers palette. Then, choose "stroke" from where it says position and select "inside." For added realism, adjust the pixel slider to either 13 or 15 pixels for a more realistic border size. Finally, pick a subtle color like white or light gray so it won't detract from your image!
Read also this article: https://thecompellingimage.com/blog/how-to-use-light-in-photography
In the layers palette, select your cropped photo and click on the "Add A Layer Mask" button at the bottom. This will eliminate any blank spaces outside of your image so that it fills up its pane.
This will also self-adjust for greater image sharpness, specifically if the photo has been enlarged much more than originally.
Select your bordered, cropped photo. Then hold down the Shift key and click on the cut-out image in the layers palette. Finally, press Ctrl+E (Windows) or Command + E (Mac) to quickly fuse both slides into a single picture!
At this point, there should be three visuals in the layers palette: your combined image, a white slide, and the initial background slide.
With the merged image selected, click the "Layers Style" button at the bottom of your palette box. Next, select "Drop Shadow" from your various style options and reduce its opacity to 60%. Afterward, adjust the angle to 120 degrees while keeping both distance and size at 5 pixels & 10 pixels, respectively (leave spread value unchanged).
Adding a drop shadow to the cropped image can help it stand out from its background and make it more visually appealing. It adds just the right amount of contrast for an eye-catching effect!
No matter how you showcase your work, your friends and family will be stunned by what you have designed. Pop-up photos are the perfect way to display a remarkable moment with style, making them an exceptional present too!
If you're ready to create a stunning popup photograph, here are some queries that can help guide your journey. Check out the following for more information:
Ans. The key to success in photography is all about the angles. It can be simpler to watch YouTube tutorials that explain this concept, and it's even better when you take photos from various viewpoints. With a little practice, you will master the art of capturing stunning images!
Ans. To make a photo look like a photo shoot, these are some steps;
Ans. In our media-saturated world, photographs that can capture a viewer's attention are truly remarkable. The images presented here illustrate pop photography: these shots vividly portray an atmosphere, evoke emotion with ease, and tell stories all within one frame.